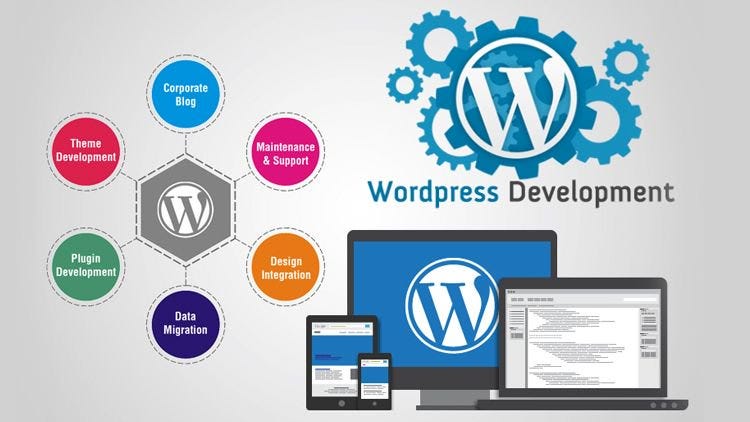
WordPress has become the go-to platform for millions of websites worldwide, making it one of the most popular content management systems (CMS). Its user-friendly interface and flexibility make it ideal for individuals and businesses alike. The good news is that you don’t need to be a professional developer to create a beautiful, functional WordPress website. If you’re a non-developer looking to get started with WordPress development, this guide will walk you through the basics.
Why Choose WordPress?
Before diving into the “how,” it’s important to understand why WordPress is a fantastic choice for non-developers. WordPress is open-source, which means it’s free to use and supported by a large community of developers and designers. Here are some key reasons to use WordPress:
- User-Friendly Interface: You don’t need to know how to code to manage content or make simple customizations.
- Huge Range of Themes and Plugins: WordPress offers thousands of free and premium themes and plugins that let you easily modify your site’s appearance and functionality.
- SEO-Friendly: WordPress is built with SEO in mind, making it easy to optimize your site for search engines with plugins like Yoast SEO or Rank Math.
- Scalability: Whether you’re building a personal blog or a large e-commerce site, WordPress can handle it all.
- Community Support: There is a large online community where you can find tutorials, forums, and resources to troubleshoot any issues.
Step 1: Setting Up WordPress
The first step in WordPress development is setting up the platform. Here’s how you can do that:
1.1. Choose a Domain and Hosting
Before you can start building your site, you’ll need a domain name (your website’s address) and a hosting service (where your website’s files will be stored). There are many affordable hosting options specifically optimized for WordPress, such as Bluehost, SiteGround, or WP Engine.
After selecting your hosting provider, most services offer one-click WordPress installations, making the setup process simple even for beginners.
1.2. Install WordPress
Most hosting platforms come with a one-click installation for WordPress. After choosing your hosting provider and setting up your domain, follow these steps:
- Log in to your hosting account.
- Find the WordPress installer in your hosting dashboard.
- Click “Install WordPress.”
- Enter your website’s details (site name, admin email, username, and password).
- Complete the installation.
Once installed, you can access your WordPress dashboard by typing yourdomain.com/wp-admin in your browser.
Step 2: Choosing the Right Theme
Now that you’ve installed WordPress, it’s time to make your site look great by choosing a theme. WordPress offers thousands of free and premium themes, which can be customized without any coding experience.
2.1. Installing a Theme
To install a theme, go to your WordPress dashboard and follow these steps:
- Navigate to Appearance > Themes.
- Click on Add New.
- Browse or search for themes that fit your website’s purpose.
- Click Install and then Activate to apply the theme.
2.2. Customizing Your Theme
Most WordPress themes offer built-in customization options, allowing you to change the logo, colors, layout, and more. To access these options:
- Go to Appearance > Customize in the dashboard.
- Use the live preview tool to adjust the settings and see changes in real-time.
Some themes offer advanced features like drag-and-drop builders (e.g., Elementor or WPBakery), which are incredibly helpful for non-developers. These tools let you design complex layouts with ease, without needing to write any code.
Step 3: Installing Essential Plugins
Plugins are like apps for your WordPress site. They extend the functionality of your website, adding new features without the need for coding. For instance, you can add forms, improve SEO, enhance security, or create an online store simply by installing the right plugins.
3.1. How to Install Plugins
To install a plugin:
- Go to Plugins > Add New in your WordPress dashboard.
- Search for the plugin you need or browse through popular categories.
- Click Install Now, then click Activate.
3.2. Recommended Plugins for Non-Developers
- Elementor: A drag-and-drop page builder that allows you to create custom layouts easily.
- Yoast SEO: Helps you optimize your content for search engines.
- WooCommerce: The go-to plugin for building an e-commerce store.
- WPForms: A user-friendly plugin for creating contact forms.
- UpdraftPlus: A backup plugin that lets you schedule backups and restore your site easily.
- Wordfence Security: Adds an extra layer of security to your website.
Step 4: Adding and Managing Content
The core purpose of any website is content, whether it’s blog posts, images, or videos. WordPress makes it simple to create and manage different types of content.
4.1. Creating Pages
Pages are used for static content, such as your homepage, about page, and contact page. Here’s how to create a new page:
- Go to Pages > Add New.
- Enter the title of your page (e.g., “About Us”).
- Use the content editor to add text, images, videos, or other media.
- Click Publish to make the page live on your site.
4.2. Writing Blog Posts
Blog posts are typically used for time-sensitive content, such as news articles or personal updates. To add a new blog post:
- Go to Posts > Add New.
- Enter your post title and content.
- Choose a category or add tags to organize your posts.
- Click Publish.
Step 5: Basic SEO for WordPress
As a non-developer, SEO (Search Engine Optimization) might seem daunting, but it doesn’t have to be. WordPress and plugins like Yoast SEO make it easy to implement basic SEO practices.
5.1. Optimizing Pages and Posts
After installing an SEO plugin like Yoast, you can optimize your content directly from the WordPress editor:
- Focus on your target keywords.
- Write a clear meta description and title tag.
- Ensure your URLs are short and include keywords.
- Use alt text for images.
- Interlink between relevant pages and posts.
Step 6: Keeping Your Site Secure
Security is a critical aspect of Custom WordPress development, and as a non-developer, there are easy ways to keep your site secure:
- Update Regularly: Always keep your WordPress version, themes, and plugins up to date.
- Use Strong Passwords: Ensure your login credentials are strong and unique.
- Install a Security Plugin: Use a plugin like Wordfence to add extra protection against hacks.
Conclusion
Building a WordPress website as a non-developer is not as difficult as it may seem. By following the steps outlined in this guide, you can create a professional-looking site without ever touching a line of code. From choosing the right theme to installing essential plugins, WordPress offers an intuitive interface that allows anyone to build and manage a website with ease. So, get started today, and you’ll be amazed at how quickly you can develop your own WordPress site!
Read More:https://www.wpwhales.io/


