Solar energy has emerged as one of the most practical and environment-conscious energy solutions for homeowners. The thought of turning your rooftop into a minuscule power-generating factory to lessen energy bills and carbon footprint is attractive-about what really happens from solar installations to flipping a solar home?
It is necessary somehow to know the basics involved in any residential solar project if you intend to go for solar power installations. Getting a successful home-based solar panel installation requires planning, coordination, and detailed execution. Then, here is a step-by-step process that will afford you an idea of what to expect during the course of the procedure.
-
Preliminary Research and Viability
Before contacting installers of solar, it is always better for you to do some initial research. Learn about the benefits of solar power, the types available of solar panels, and the working of solar in your geographic location.
Ask yourself:
- What is the energy of my house needed?
- How much sunlight does my house get annually?
- Is my roof suitable for solar panels?
- What are my budget and financing options?
This stage helps clarify whether solar is a practical solution for your home and prepares you to ask informed questions when you consult professionals.
-
Site Evaluation and Roof Evaluation
Once you are ready to move forward, your chosen solar company will usually schedule a site trip. During this evaluation, a technician will evaluate your roof status, orientation, tilt, shading, and usable space. They will also inspect your electrical panel to ensure that it can support the loaded load from a solar system.
A wide site analysis is important to determine:
- The best placement for panels
- Possible obstacles like trees, chimneys, or vent
- Roof structural integrity
If your roof is in aging or poor condition, you may need to repair or replace it before proceeding with installation.
-
System Design and Proposal
After the site evaluation, the solar company will create a custom system design based on your roof layout and energy use. This design will include:
- Panel placement and quantity
- Inverter specification
- Expected energy production
- Estimated savings over time
The company will also provide a detailed proposal outlining the cost of the system, available incentives, warranty conditions, and financing options.
This is the stage where you will decide whether the upfront is to be paid, using a solar loan, leasing the system, or entering the power purchase agreement (PPA). Be sure to carefully review all conditions before signing.
-
Permission and Paperwork
Before the installation starts, several permits and approvals are required. These usually include:
- Building
- Electrical permit
- Utility interrelation agreement
- Application for exemption or tax encouragement
Your solar installer will usually handle this paperwork, but the processing time may be different based on local rules. This step can be anywhere from a few days to several weeks.
-
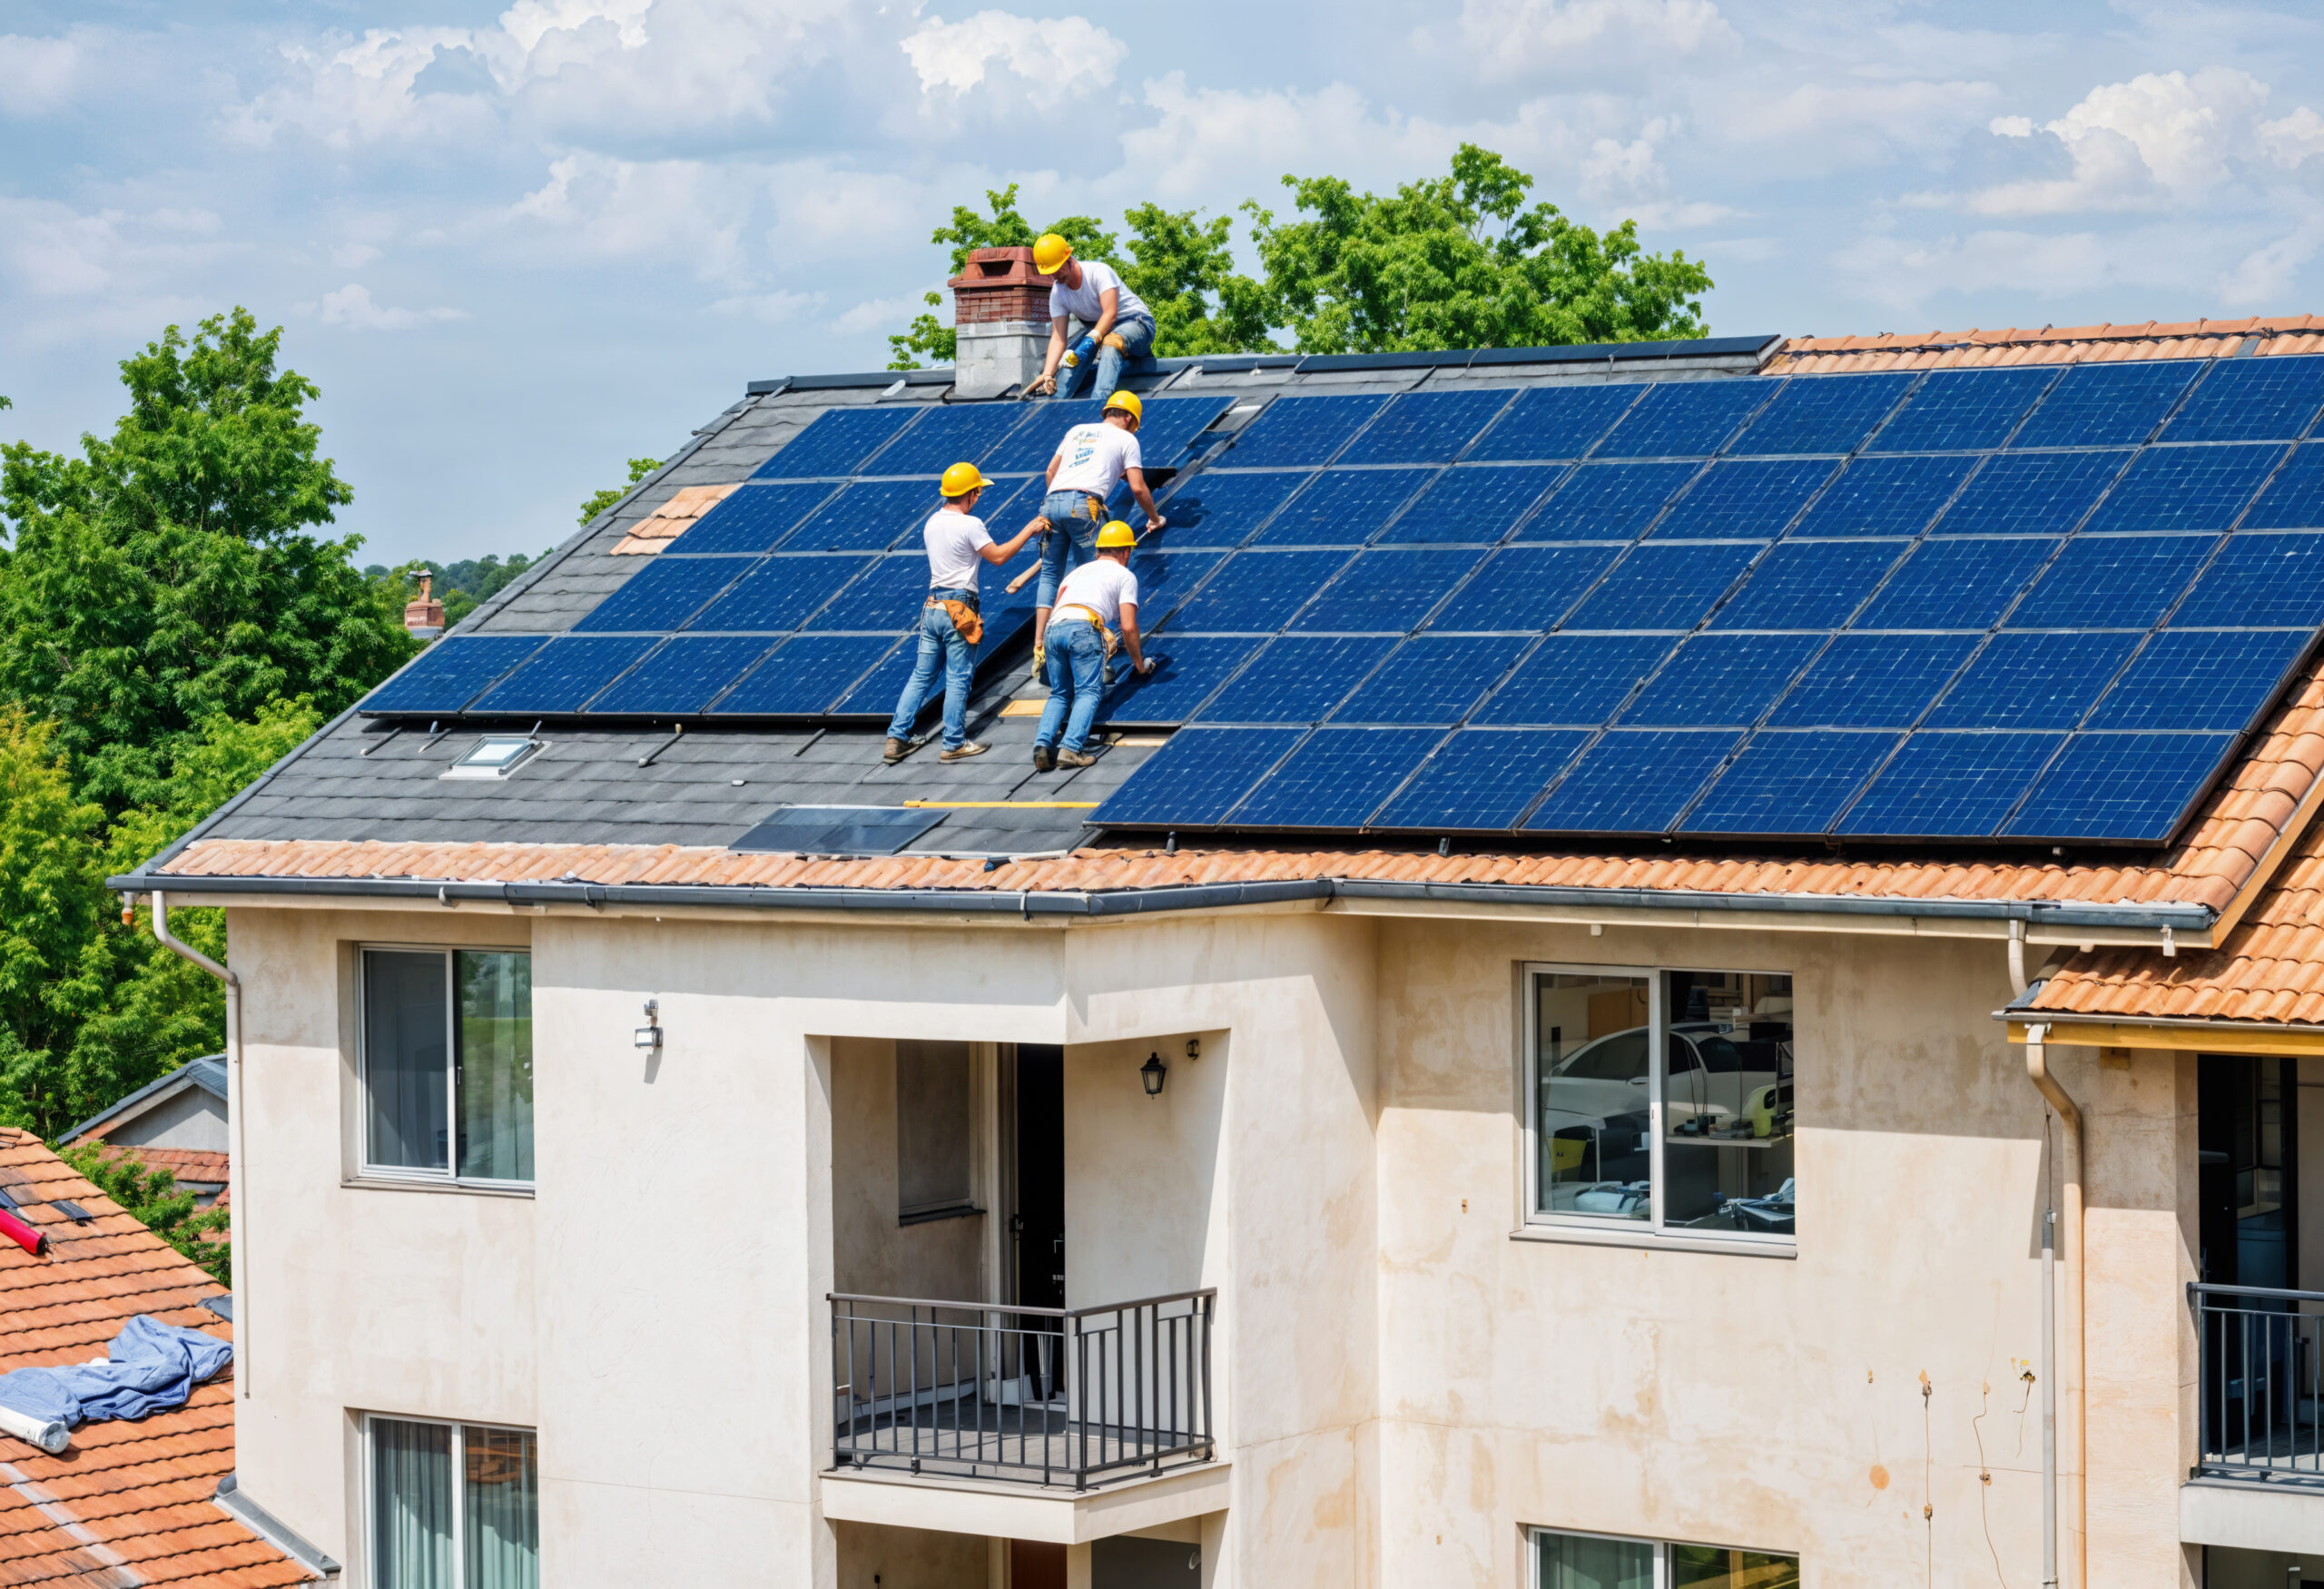
Foundation Day
Once all the permits are safe, the time for installation comes. Most home-based solar panel installation projects are completed within one to three days, depending on the complexity and weather conditions.
What is expected on Foundation Day:
- Growing equipment is connected to the roof
- Solar panels are safe for ranking systems
- Inverters and electrical components are installed
- The system is connected to the wire, and your electrical panel
The professional installer will ensure everything complies with local building codes and electrical standards.
-
System Inspection and Interrelationship
After the installation is completed, a local government inspector or utility representative will visit your home to verify that the system meets all rules and safety standards. This inspection ensures:
- Appropriate panel installation
- Safe electrical connection
- Code Compliance
Once the system passes inspection, it can officially be connected to the local utility grid (connected). The grid-seated system allows you to take advantage of net metering-earning credits for additional electricity produced by your panels and send the grid back.
-
Activation and Monitoring
With the approval associated with the place and the system, your installer will guide you through the activation process. You will finally get to flip the switch and start generating your solar energy!
Modern solar systems include monitoring equipment – usually an app or online dashboard – which lets you track:
- Real-time energy production
- Daily, monthly, and life production
- System performance alert
Monitoring helps you to adapt to use, identify issues quickly, and ensure that your system is working efficiently.
Final Thoughts
Understanding the solar installation process can help you feel confident and ready because you proceed with your home energy upgrade. To flip the switch to your new system from the initial site evaluation, Each step is an essential part of ensuring a successful, safe, and cost-effective result.
A home-based solar panel installation is not only about saving money but also about making long-term investments in clean energy, energy freedom, and environmental stability.
By working with a reliable installer and being informed about each stage of the project, you will be well on your way to enjoying many benefits that can provide solar energy. Whether financial savings or a greener lifestyle inspires you, going solar is a bright step toward the future.
