If you’ve ever wondered why your home feels stuffy or why dust seems to return days after cleaning, your air ducts might be the culprit. In Compton, where dust and pollen have a habit of sneaking indoors, keeping your ventilation system clean isn’t just about comfort—it’s about health. One of the most thorough ways to clear out those hidden dust bunnies is a method called negative pressure air duct cleaning. Let’s break down what this is, how it works, and how you can confidently approach it—even if you’ve never peeked inside a duct before.
“Clean air doesn’t just happen; it takes a careful hand and a little know-how to make every breath at home fresh and safe.”
What’s the Big Deal with Negative Pressure?
Picture your ducts like a series of hidden hallways running throughout your home. Over time, these spaces collect dust, lint, and even bits of pet fur. Traditional cleaning methods might stir up those particles, but negative pressure takes a smarter approach. Instead of blowing air through the ducts, this method creates a powerful vacuum. It’s a bit like putting your ducts on ‘reverse’—the vacuum gently sucks out debris without letting it escape into your living spaces.
Why does this matter in Compton? Well, with our dry spells and occasional winds, dust builds up fast. Negative pressure cleaning doesn’t just tidy up—it significantly improves the air you breathe, which is especially important for allergy sufferers or families with young kids.
Step-by-Step: Getting Your Ducts Squeaky Clean
You don’t need to be a seasoned pro to understand the cleaning process. Here’s a beginner-friendly walkthrough for negative pressure duct cleaning:
- Prep the Area: Clear a path to your vents and cover furniture nearby. Cleaning might get a little messy, and you don’t want dust settling where you just cleaned.
- Access the Ducts: Remove vent covers and use a flashlight to peek inside. This is a good time to check for any obvious blockages or signs of mold.
- Seal Off Vents: To make the vacuum more effective, cover up all but one or two vents. This helps the suction target specific areas.
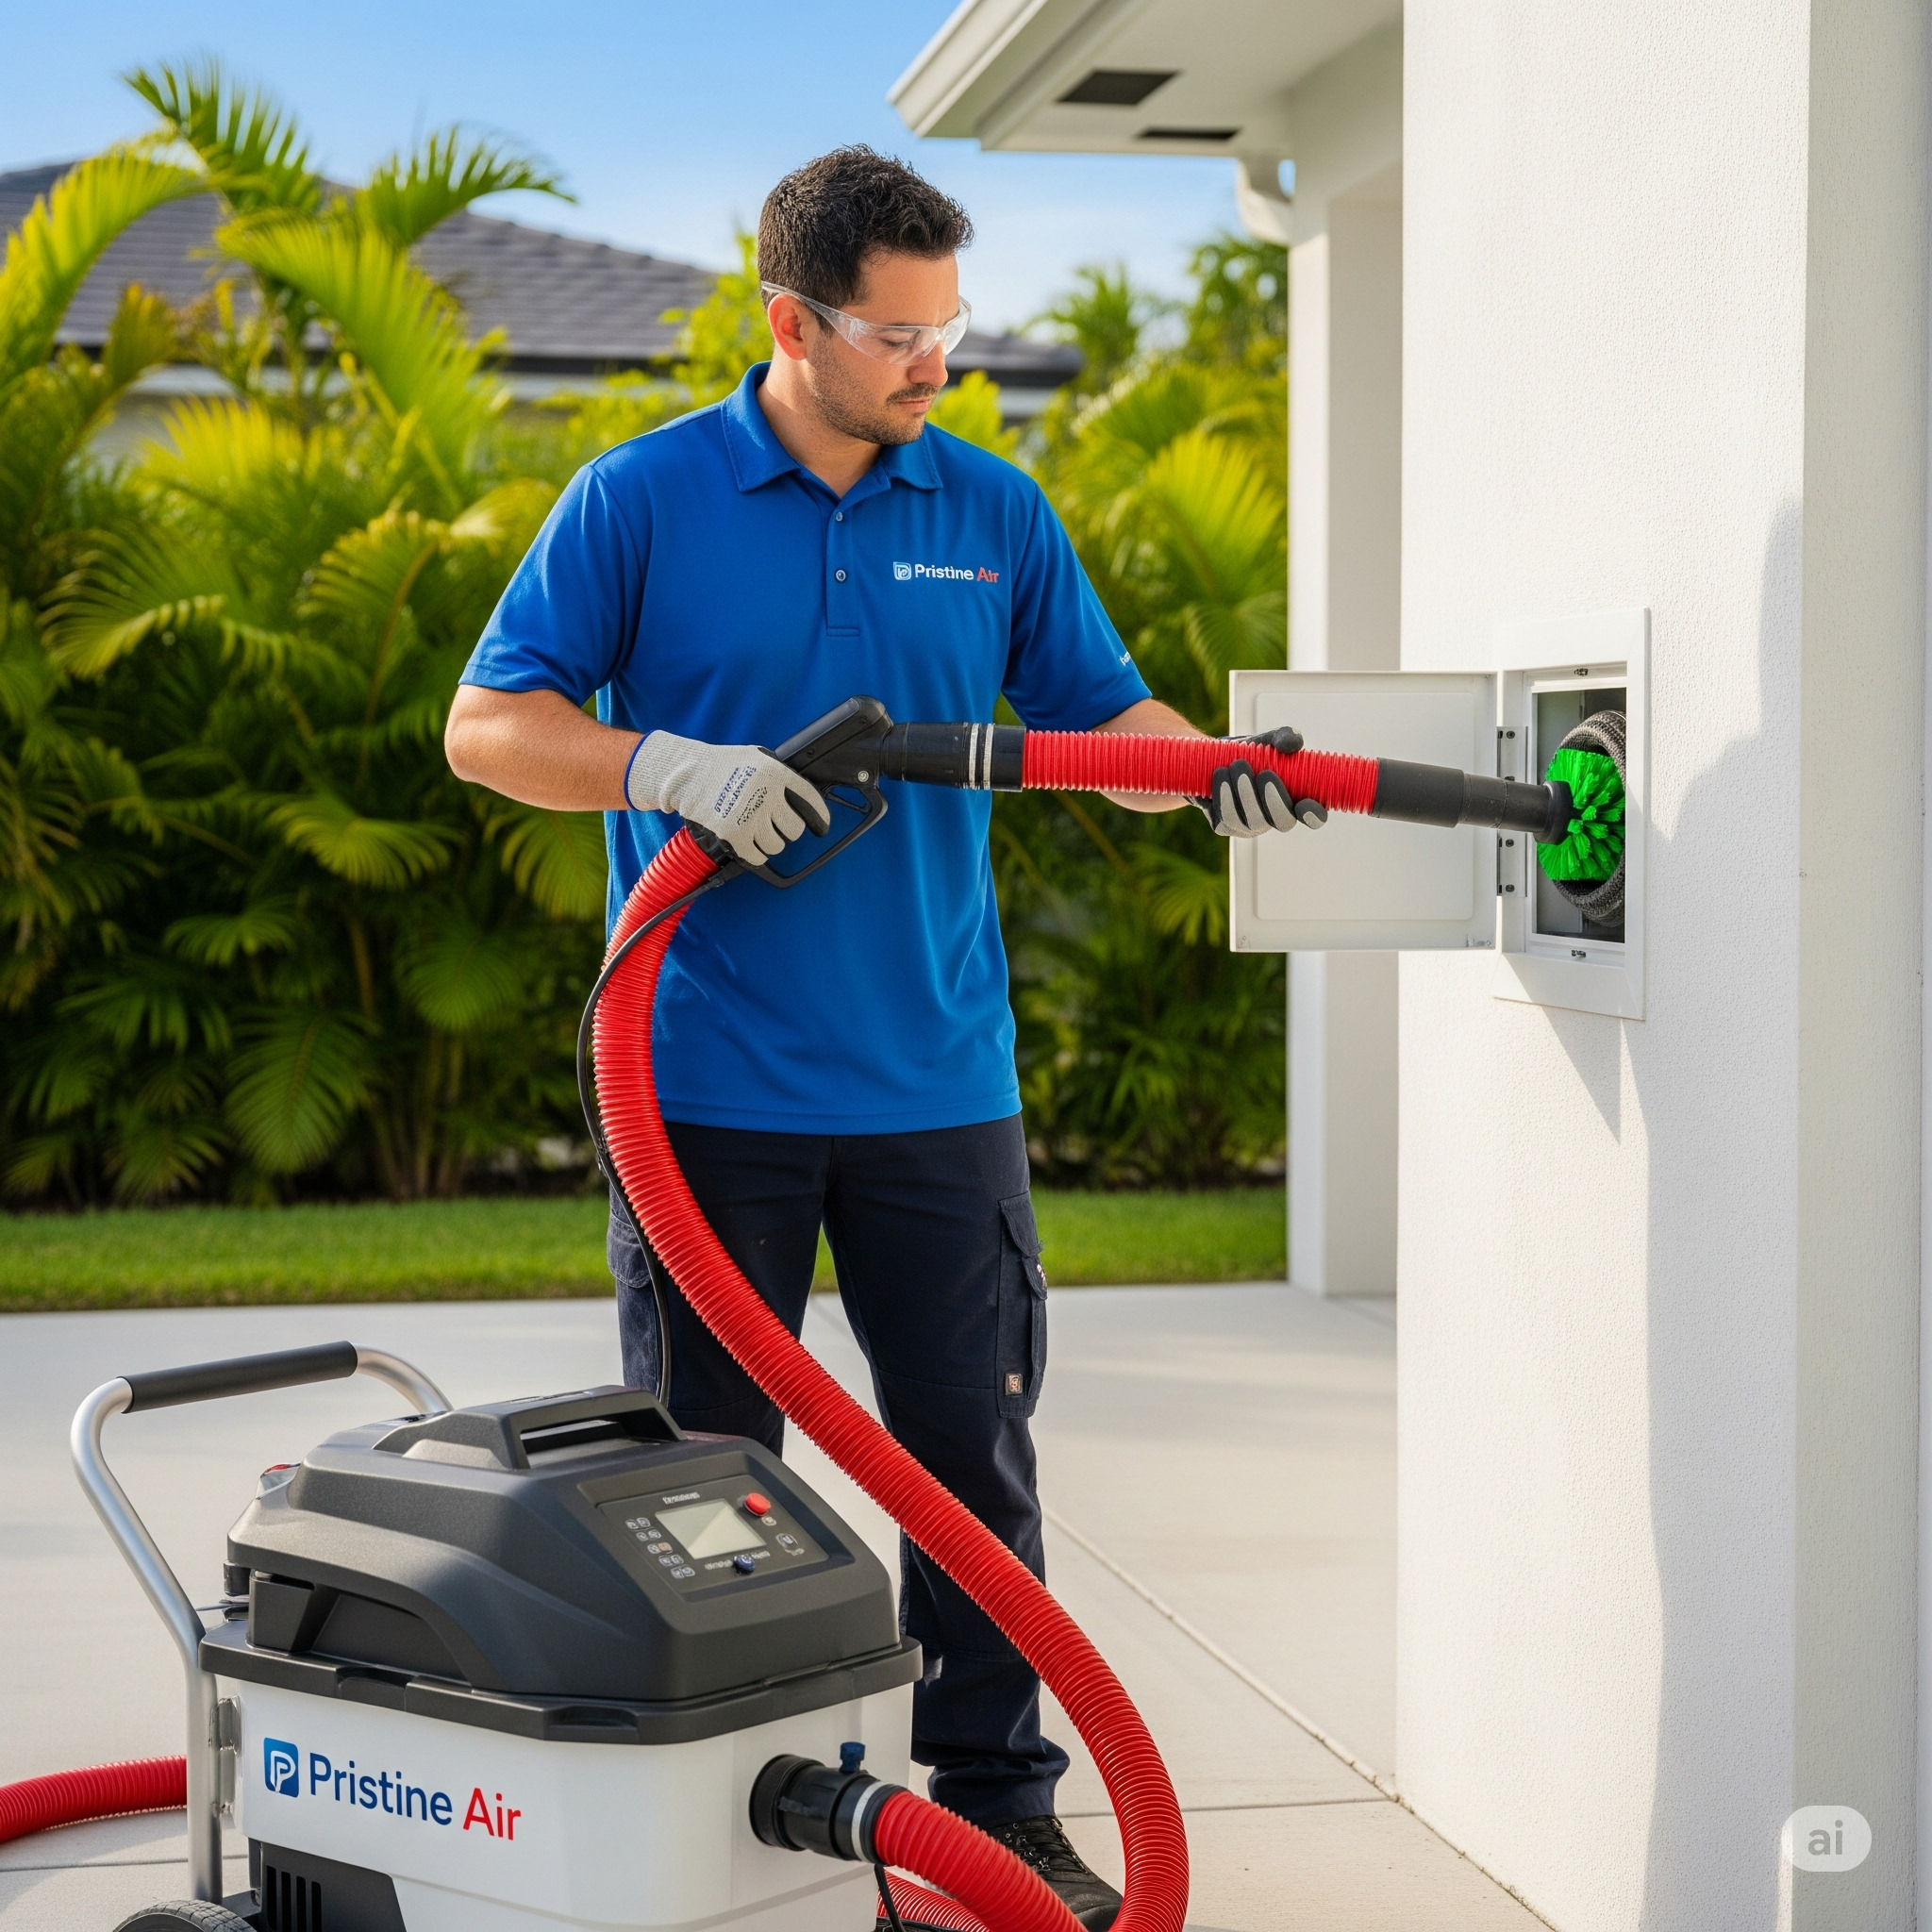
- Connect the Vacuum: A specialized vacuum hose is attached to the main duct. This machine is the heart of the negative pressure system—it’ll pull dust and debris out of the ducts and trap them in a secure container.
- Agitate the Dust: Brushes and air whips are used to loosen stubborn dirt. Think of it as scrubbing the walls of your ductwork so the vacuum can scoop everything up.
- Final Sweep: Once all sections are cleaned, remove any lingering dust near the vents and replace the covers. Voilà—your airways are clear!
Tools of the Trade: What You’ll Need
Before you get started, it’s important to gather the right equipment. Here’s a quick comparison of common tools used for negative pressure duct cleaning:
| Tool | Purpose | Home Use | Pro Use |
| High-Powered Vacuum | Creates strong suction for removing debris | Rare (rent or hire) | Standard |
| Brush Attachments | Dislodges dust stuck to duct walls | Yes | Yes |
| Air Whip | Blasts air to loosen stubborn dirt | No | Yes |
| Sealing Tape/Plastic Sheets | Blocks vents for focused cleaning | Yes | Yes |
| Inspection Camera | Lets you see inside ducts | Optional | Common |
When Should You Call a Professional?
While the basics are doable for a DIYer, there are times when it’s best to bring in the experts. If you spot signs of mold, strange smells, or find animal droppings in your ducts, a pro will have the right equipment (and experience) to handle it safely. In Compton, local companies are familiar with our climate-specific challenges, so they can often spot issues a beginner might miss.
Key Features of Negative Pressure Duct Cleaning
- Removes accumulated dust, pollen, and allergens efficiently
- Prevents re-circulation of particles during cleaning
- Improves overall indoor air quality and HVAC system efficiency
- Targets hard-to-reach spots in your ductwork
Safety First
Always turn off your HVAC system before starting. Wear a dust mask and gloves—old dust can be irritating, especially for sensitive noses. If you’re unsure about what you find inside the ducts, it’s smarter to pause and get advice, rather than risk your health.
Cost Considerations
DIY cleaning can be budget-friendly, especially if you already have some basic tools. Renting a negative pressure vacuum will cost more, but it’s still usually less than hiring a full-service company. Professional services in Compton typically range from $300 to $700, depending on home size and duct complexity.
Emergency Service?
If your system is blowing dusty air or you detect a burning smell, don’t wait. Some local providers offer same-day or emergency cleaning to protect your home and health.
FAQs
Q: How often should I clean my air ducts?
A: For most homes in Compton, every 2–4 years is enough, unless you have pets, allergies, or renovations that kick up lots of dust.
Q: Can I do negative pressure duct cleaning myself?
A: You can manage light cleaning, but for a full negative pressure job, renting the right vacuum is key—or consider hiring a pro if you’re unsure.
Q: Will cleaning my ducts lower my energy bills?
A: Yes! Clean ducts help your HVAC system work more efficiently, which means less energy wasted and lower monthly bills.
Conclusion
Taking charge of your home’s air quality doesn’t have to be intimidating. With a little patience and the right tools, negative pressure air duct cleaning can bring a noticeable difference to your comfort and peace of mind. Whether you decide to tackle it yourself or call in the professionals, the result is the same—a fresher, healthier home for you and your family in Compton.
Read More:Local Air Duct Cleaning