Running a Shopify store with products sold by measurement—like fabric, flooring, liquids, or custom-sized goods—often means fixed pricing simply doesn’t work. That’s where a Shopify Product Price Calculator becomes essential. This powerful tool allows merchants to implement custom pricing based on user input, such as length, weight, area, or volume, offering flexibility that traditional pricing structures lack.
In this article, we’ll walk you through how to implement custom pricing using a product price calculator app and how it can transform your Shopify store.
Why Use a Product Price Calculator?
Custom pricing allows you to charge accurately for products that vary in size or quantity. Rather than forcing customers to buy in pre-set units or bundles, a Shopify product price calculator enables per-unit pricing based on exact specifications. This not only builds customer trust but also reduces pricing disputes and manual work for store owners.
Step 1: Choose the Right Price Calculator App
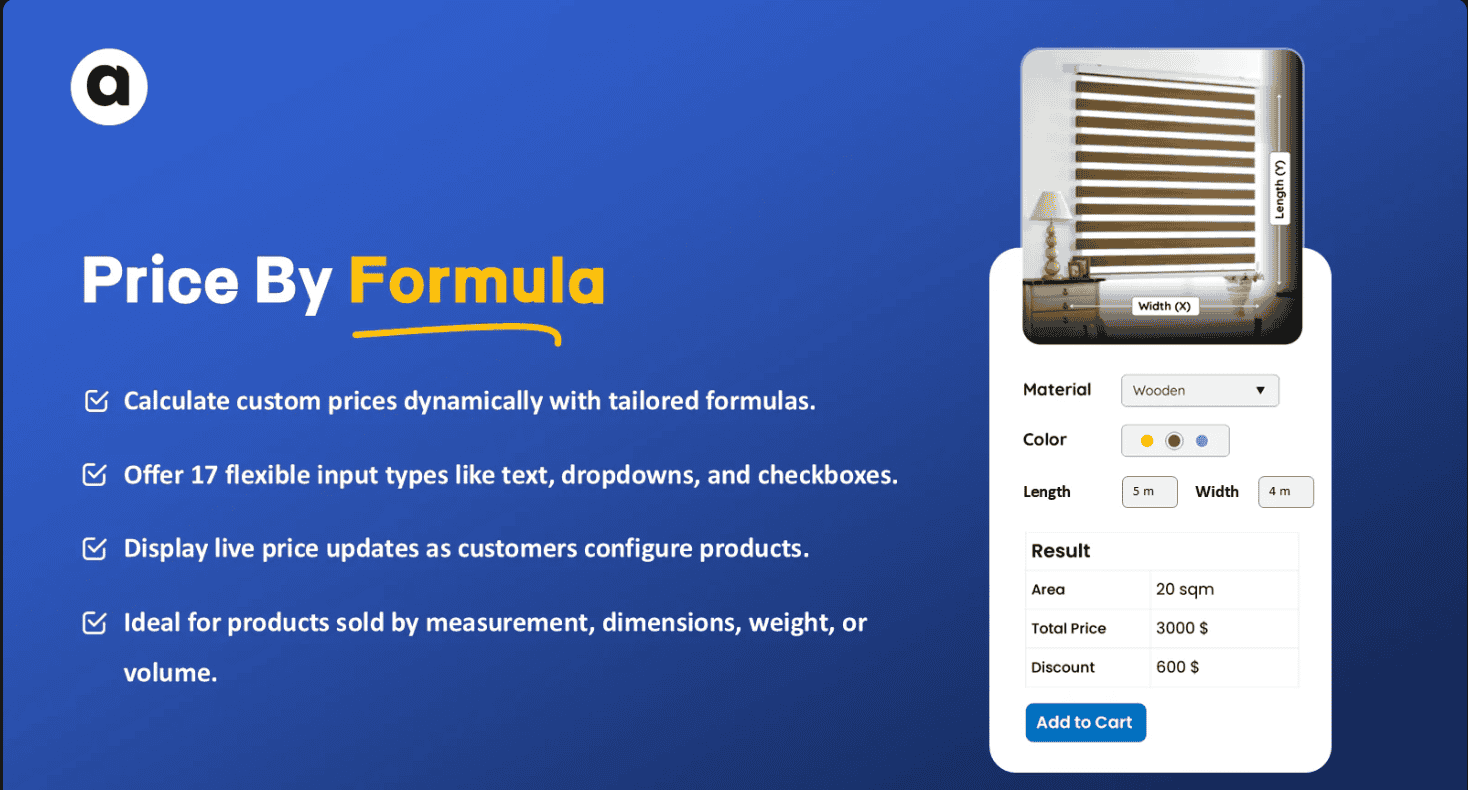
There are several apps in the Shopify App Store that offer formula-based pricing functionality. One popular option is PC Price Calculator by Formula, which allows merchants to create dynamic price rules using input fields and custom logic.
Look for an app that includes:
- Formula-based pricing options (e.g., length × width × price per unit)
- Multiple input fields for customers (text, dropdowns, sliders, etc.)
- Real-time price updates on the product page
- Conditional logic for different product types or pricing rules
- Integration with Shopify’s cart and checkout process
Step 2: Set Up Your Pricing Formula
Once you’ve installed the app, the next step is to define your custom pricing logic. For example, if you sell carpet by square foot, your formula might look like this:
Final Price = (Length in feet) × (Width in feet) × (Price per square foot)
You can create multiple rules for different product types and use rounding options to keep the final prices neat and customer-friendly.
Step 3: Add Input Fields to Your Product Page
To capture the necessary information from customers, you’ll need to add input fields like:
- Length and width (for area-based pricing)
- Weight (for bulk pricing)
- Custom notes or dropdowns (for add-ons or special requests)
These fields should be visually intuitive and responsive, updating the total price in real time based on what the customer enters.
Step 4: Test the Calculator
Before going live, thoroughly test your calculator with different inputs to ensure accuracy. Try edge cases and check how the final price updates in the cart and checkout. Most price calculator apps offer a preview or test mode for this purpose.
Step 5: Educate Your Customers
To build trust and reduce friction, consider adding a tooltip or short description next to the calculator explaining how the pricing works. Customers appreciate transparency—especially when pricing is dynamic.
Final Thoughts
Custom pricing with a Shopify Product Price Calculator allows for unparalleled flexibility and accuracy, especially for merchants selling variable-sized goods. By automating price calculations, you streamline your operations, reduce manual errors, and provide a seamless experience for customers.
Whether you’re in B2B, construction, textiles, or packaging, this tool can significantly enhance how you sell and price your products.